Cleaning windows can be a struggle, especially when it’s time to finally clean the outside. We know window cleaning is almost nobody’s favorite chore, but there’s no reason it should be more complicated than it is. To help keep window cleaning simple, here is our guide to cleaning your home’s windows, inside and out, like a professional.
Get the Windows Ready for Cleaning
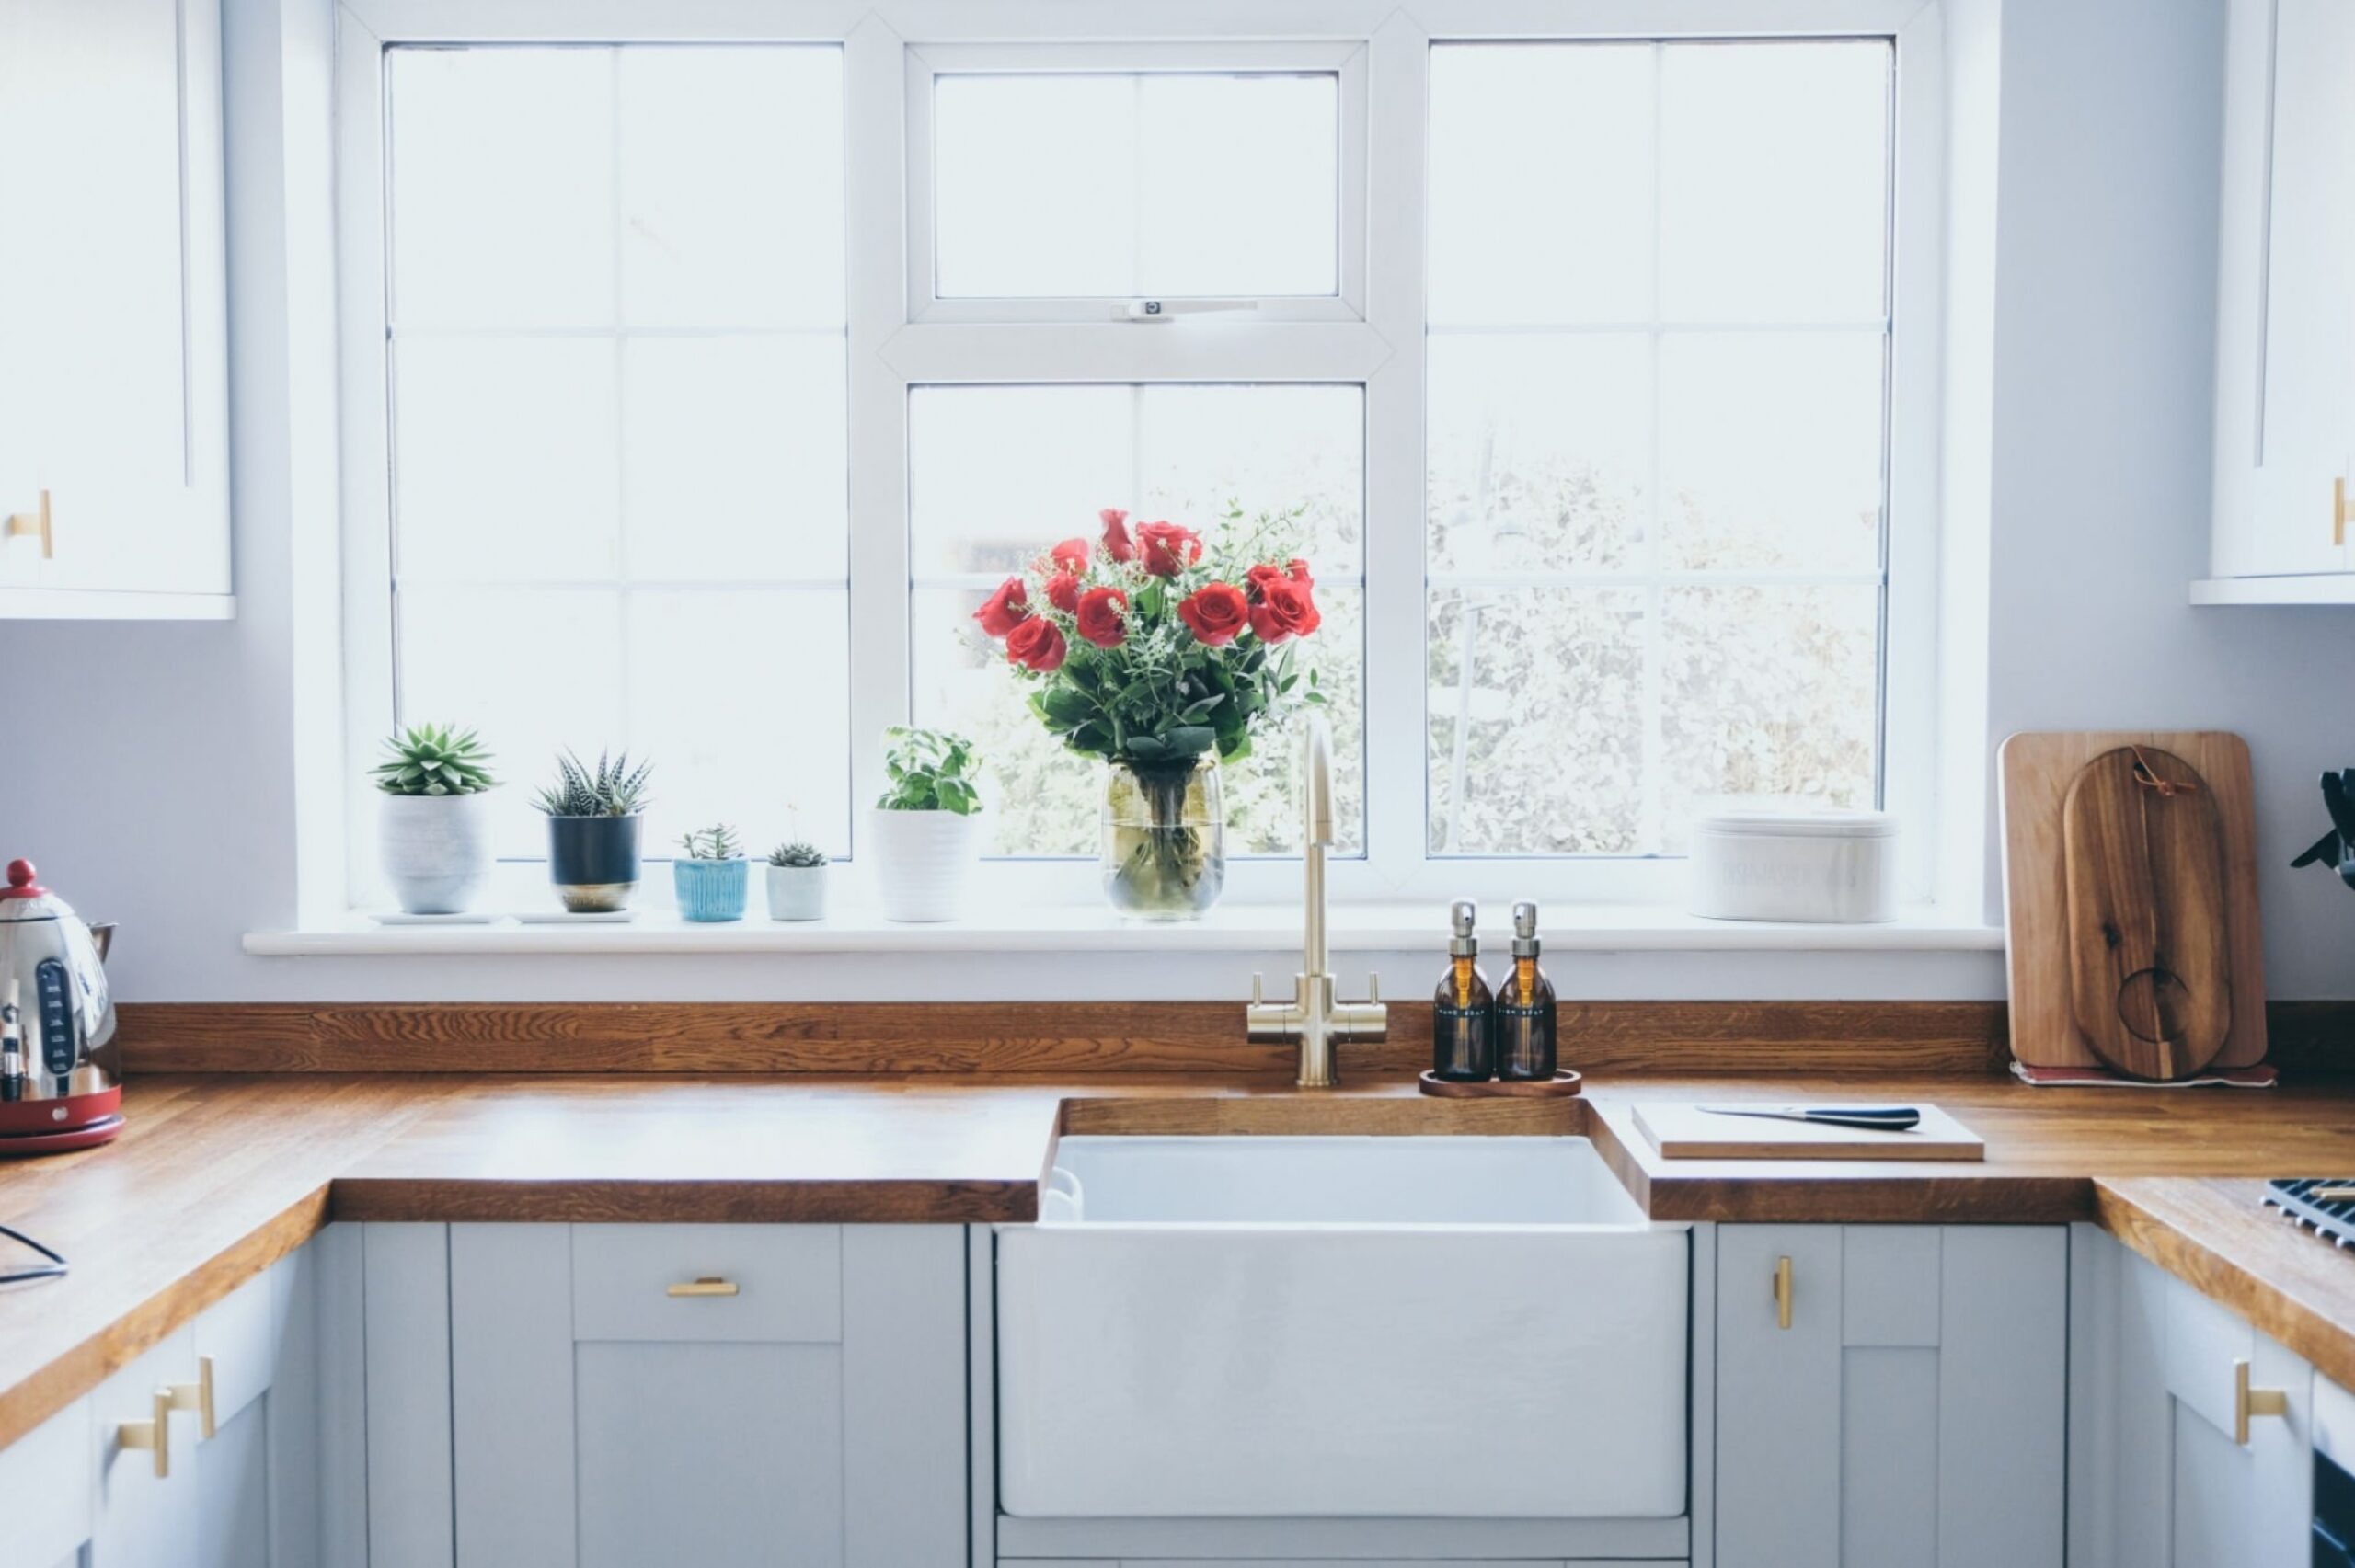
Before you start, you should ensure you and your home are prepped and ready for cleaning. Since you’ll be using cleaning products and water, you’ll need to protect the areas around your windows. Here are a few things to keep in mind when prepping:
- Lay a towel down under the window you’ll be focusing on, and make sure you have a few extras on hand just in case.
- Remove any dust and loose debris from around the windows with a vacuum or by wiping down the area with a damp cloth.
- Pull up any blinds on the windows and give those a good dusting to keep them from redistributing debris on the newly cleaned windows later.
- Move any curtains out of the way. Shake them out outside and maybe toss them in the wash or a quick tumble in the dryer if they are fabric.
- If your windows have removable screens, you’ll want to get those out of the way. Make sure to label them so that you can put them back correctly. It could also be a good idea to rinse the
- screens with a hose and allow them to dry in the open air before replacing them.
- Have all your cleaning supplies ready. You’ll need: Microfiber cloths (Note: We don’t recommend paper towels or newspapers as these are more likely to leave streaks, haze, and lint on the glass.), a squeegee, a spray bottle, glass cleaner or cleaning solution of choice and water.
DIY Window Cleaner
If you’ve tried just about every glass cleaning product available and haven’t found one that works, you most likely have the solution at your fingertips. Here are some of our favorite DIY window and glass cleaning solutions:
1. Vinegar
This method is our best recommendation, and it’s super simple! All you’ll need is white distilled vinegar and some water, plus your spray bottle. In the spray bottle, combine 1 part vinegar with 2 parts water and then shake it gently to mix it together. The acidity of the vinegar is what makes this so effective as a glass cleaner, plus it can kill bacteria and cut through tough grime. We told you this method was easy!
2. Lemon Juice

If you don’t like using (or smelling) vinegar around the house, that’s okay. We know vinegar can be pretty strong and harsh on the nose, so here’s your solution. All you have to do for this DIY method is replace vinegar from the previous recipe with lemon juice. The acidity of the lemon juice is a bit stronger than vinegar, but it is just as effective and definitely smells better. Who doesn’t appreciate their home smelling lemony-fresh after cleaning?
3. Dish Soap
There are a few ways you can incorporate dish soap into DIY cleaning solutions. You can easily use it on its own by adding a few drops to some clean water, giving you an effective window cleaner. Another effective way to use dish soap is by adding a drop or two to either of the previous recipes for a pretty powerful cleaning boost.
4. Tea Tree Essential Oil
Another way to combat the scent of chemicals or vinegar is by adding essential oils to your DIY recipes. Our favorite essential oil to use is tea tree because not only does it smell amazing, but it also fights against bacteria and helps prevent mold growth. You only need to add a few drops to your DIY cleaner to see the difference, so we suggest using essential oil with our favorite vinegar method for the ultimate cleaning solution.
Cleaning Inside
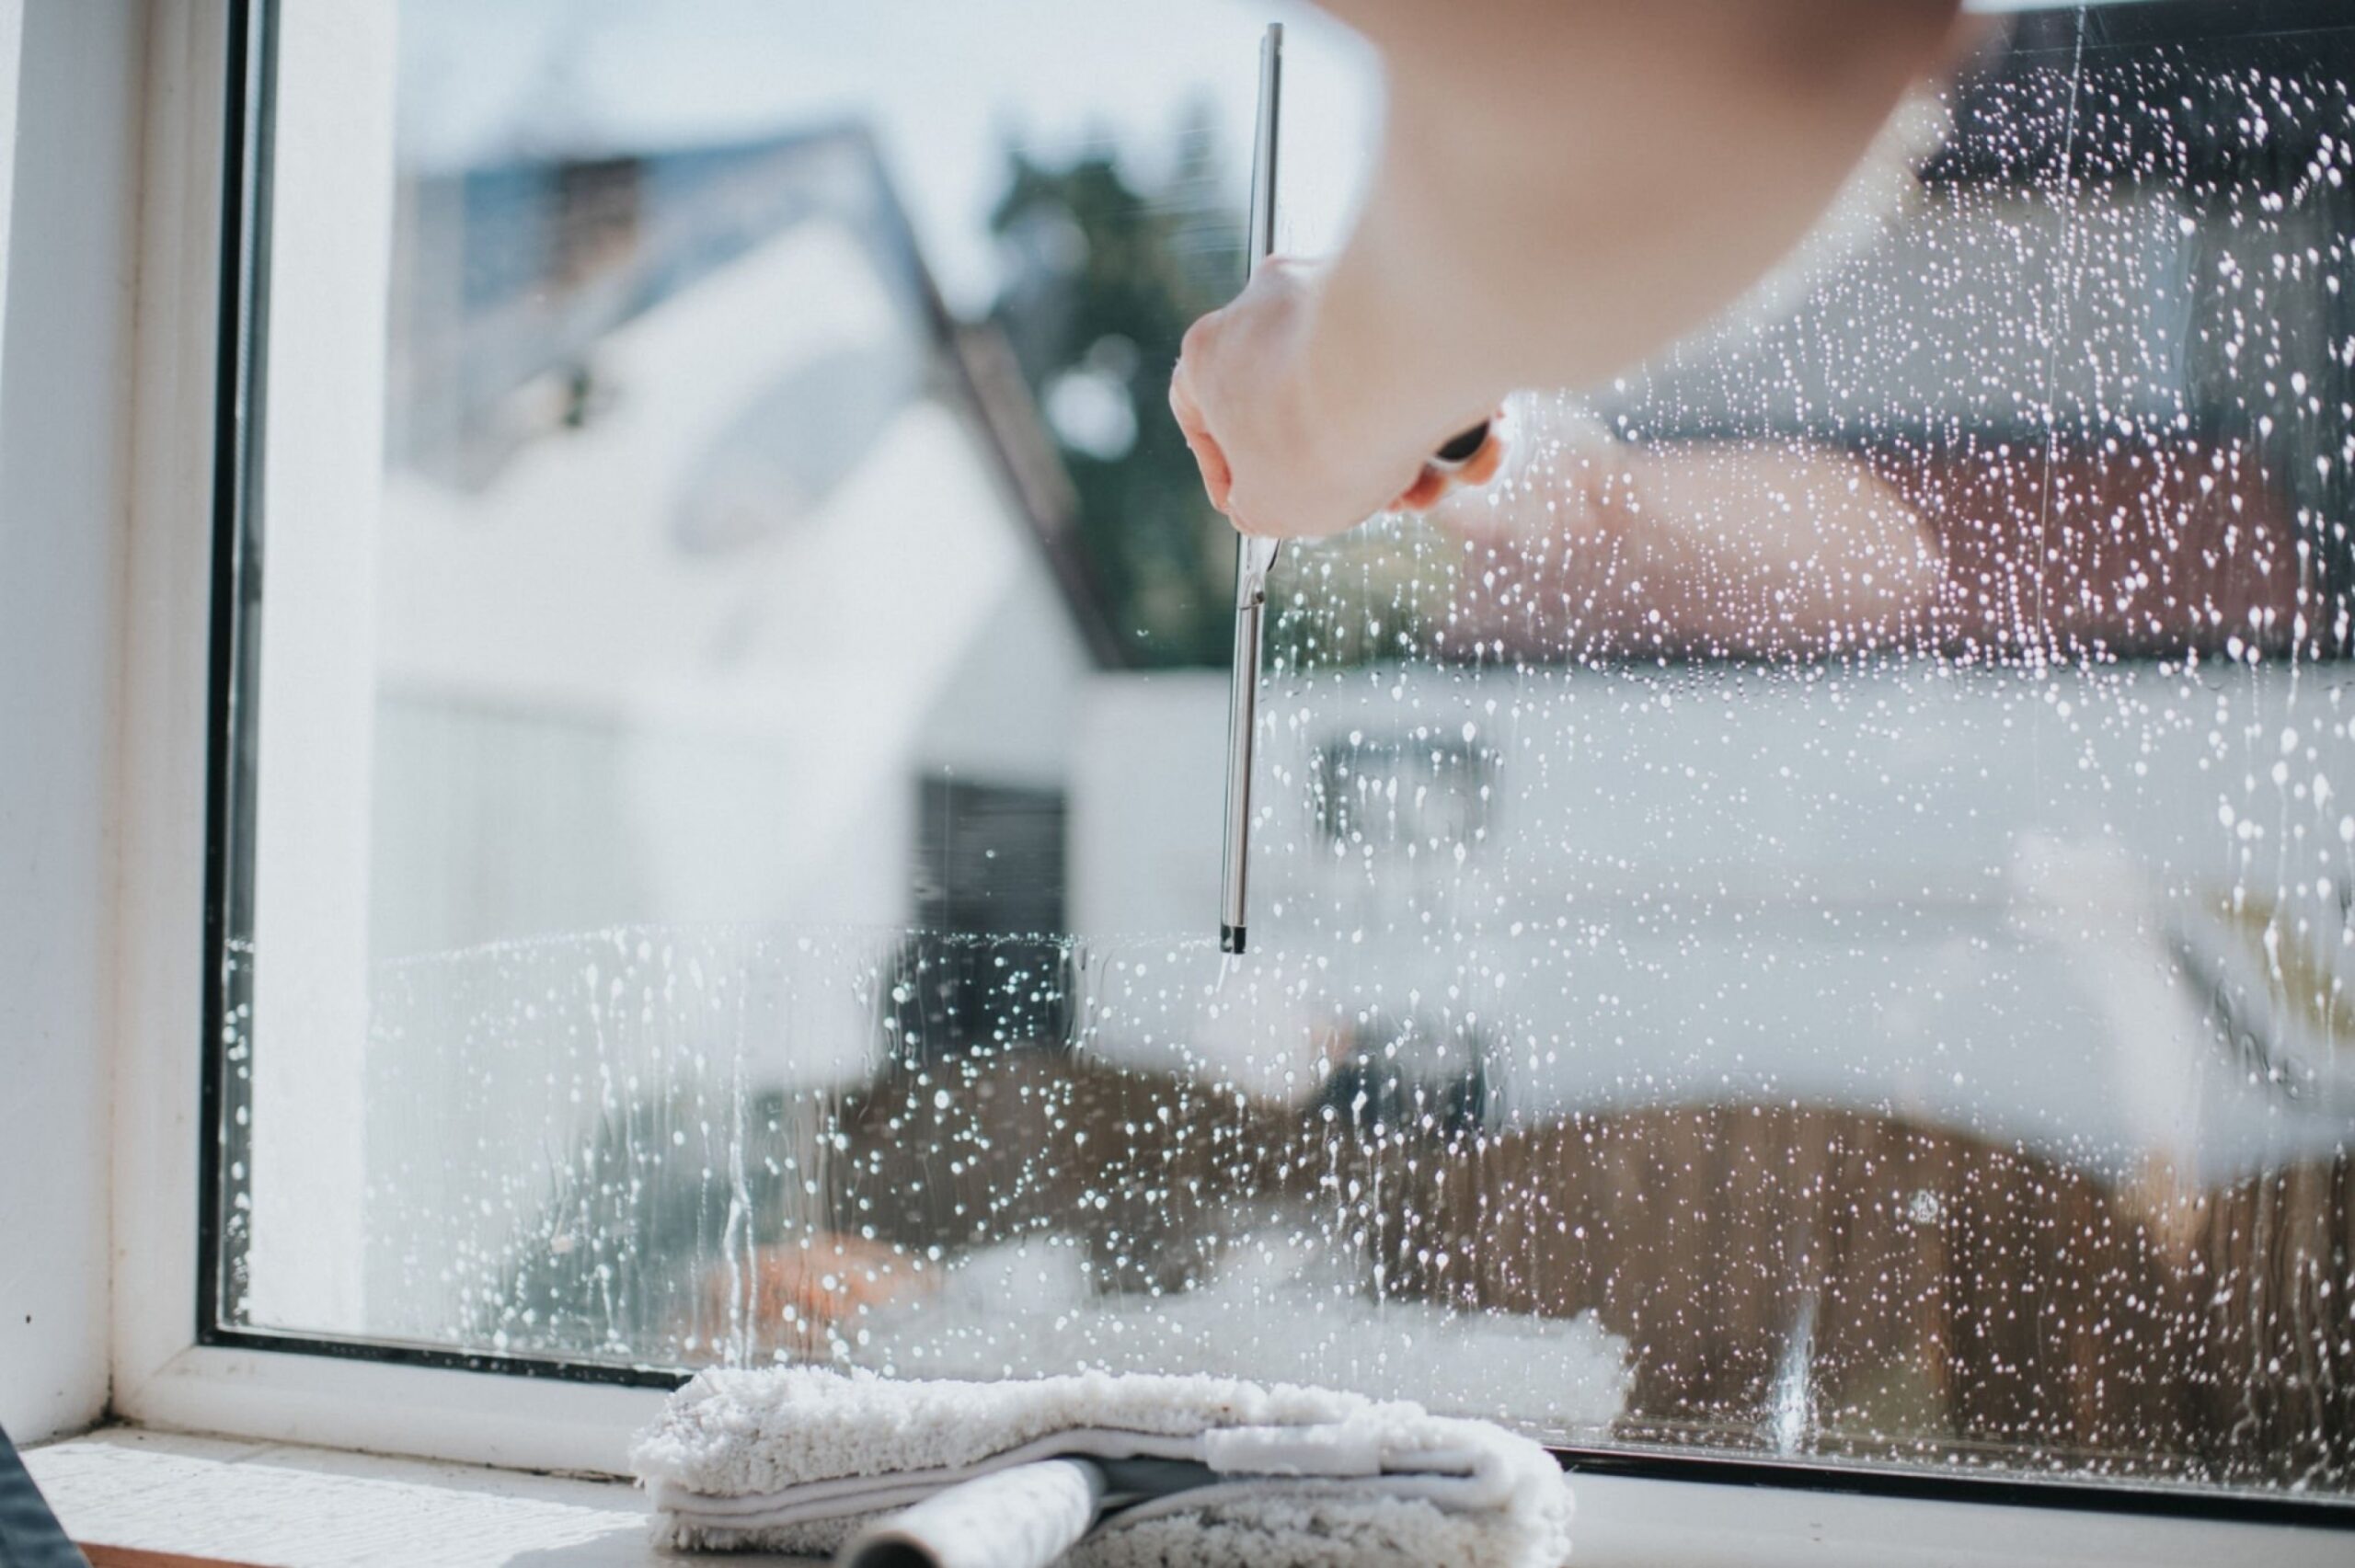
Now that you have the area around your windows protected and your supplies at the ready, you can get started with the cleaning process from inside. Here is our quick guide to cleaning the interior of your windows like a pro:
- Make sure you have wiped down the windows and window panes with a wet cloth to remove any loose dust and debris from the surface.
- Using your chosen cleaning product or DIY solution, spray a small amount starting from the top of the window glass and moving down. (Note: Do your best to keep the cleaner away from surfaces that aren’t glass.)
- Wipe the cleaner all around the glass with a dry microfiber cloth to clean the window using an S-motion to avoid the cleaner drying on the glass while you clean it.
- Spray a small amount of cleaner on any stubborn areas of grease or grime around the window. Only use the cleaner in small amounts and do your best to not allow the cleaner to pool at the base of the window.
- Using a fresh microfiber cloth or a squeegee, wipe away the remaining cleaner once the glass has been cleaned completely. If you are using a squeegee, make sure you keep the blade in contact with the glass to avoid leaving streaks and drips.
- Check the glass for any streaks or stray marks. You can use a fresh microfiber towel to buff these from the surface of the glass for a shiny and streak-free finish.
Cleaning Outside
Once all of your windows are now shiny and clean on the inside, make sure they’re all closed because it’s time to shift your focus to the outside. For the best results when cleaning your windows from the outside, here is our go-to method:
- Ensure that all windows are securely closed and surrounding areas inside are protected from potential leaks.
- Use your garden hose to spray away the surface layers of dirt and grime that have accumulated.
- To scrub and remove stubborn grime, we recommend using an extendable pole that you can attach microfiber cleaning cloths to. Climbing up and down a ladder to clean your windows is time-consuming and even dangerous especially if you are cleaning them on your own.
- Apply your cleaning solution to the cloth on the extendable pole to clean high-up and hard-to-reach windows. (Note: There are some hose-attachable window cleaners available to purchase, so you can look into one of those to shave off some time when cleaning.)
- Rinse the cleaner away thoroughly with your hose.
- Use a fresh microfiber cloth or extendable squeegee to dry the windows.
How Often to Clean Windows
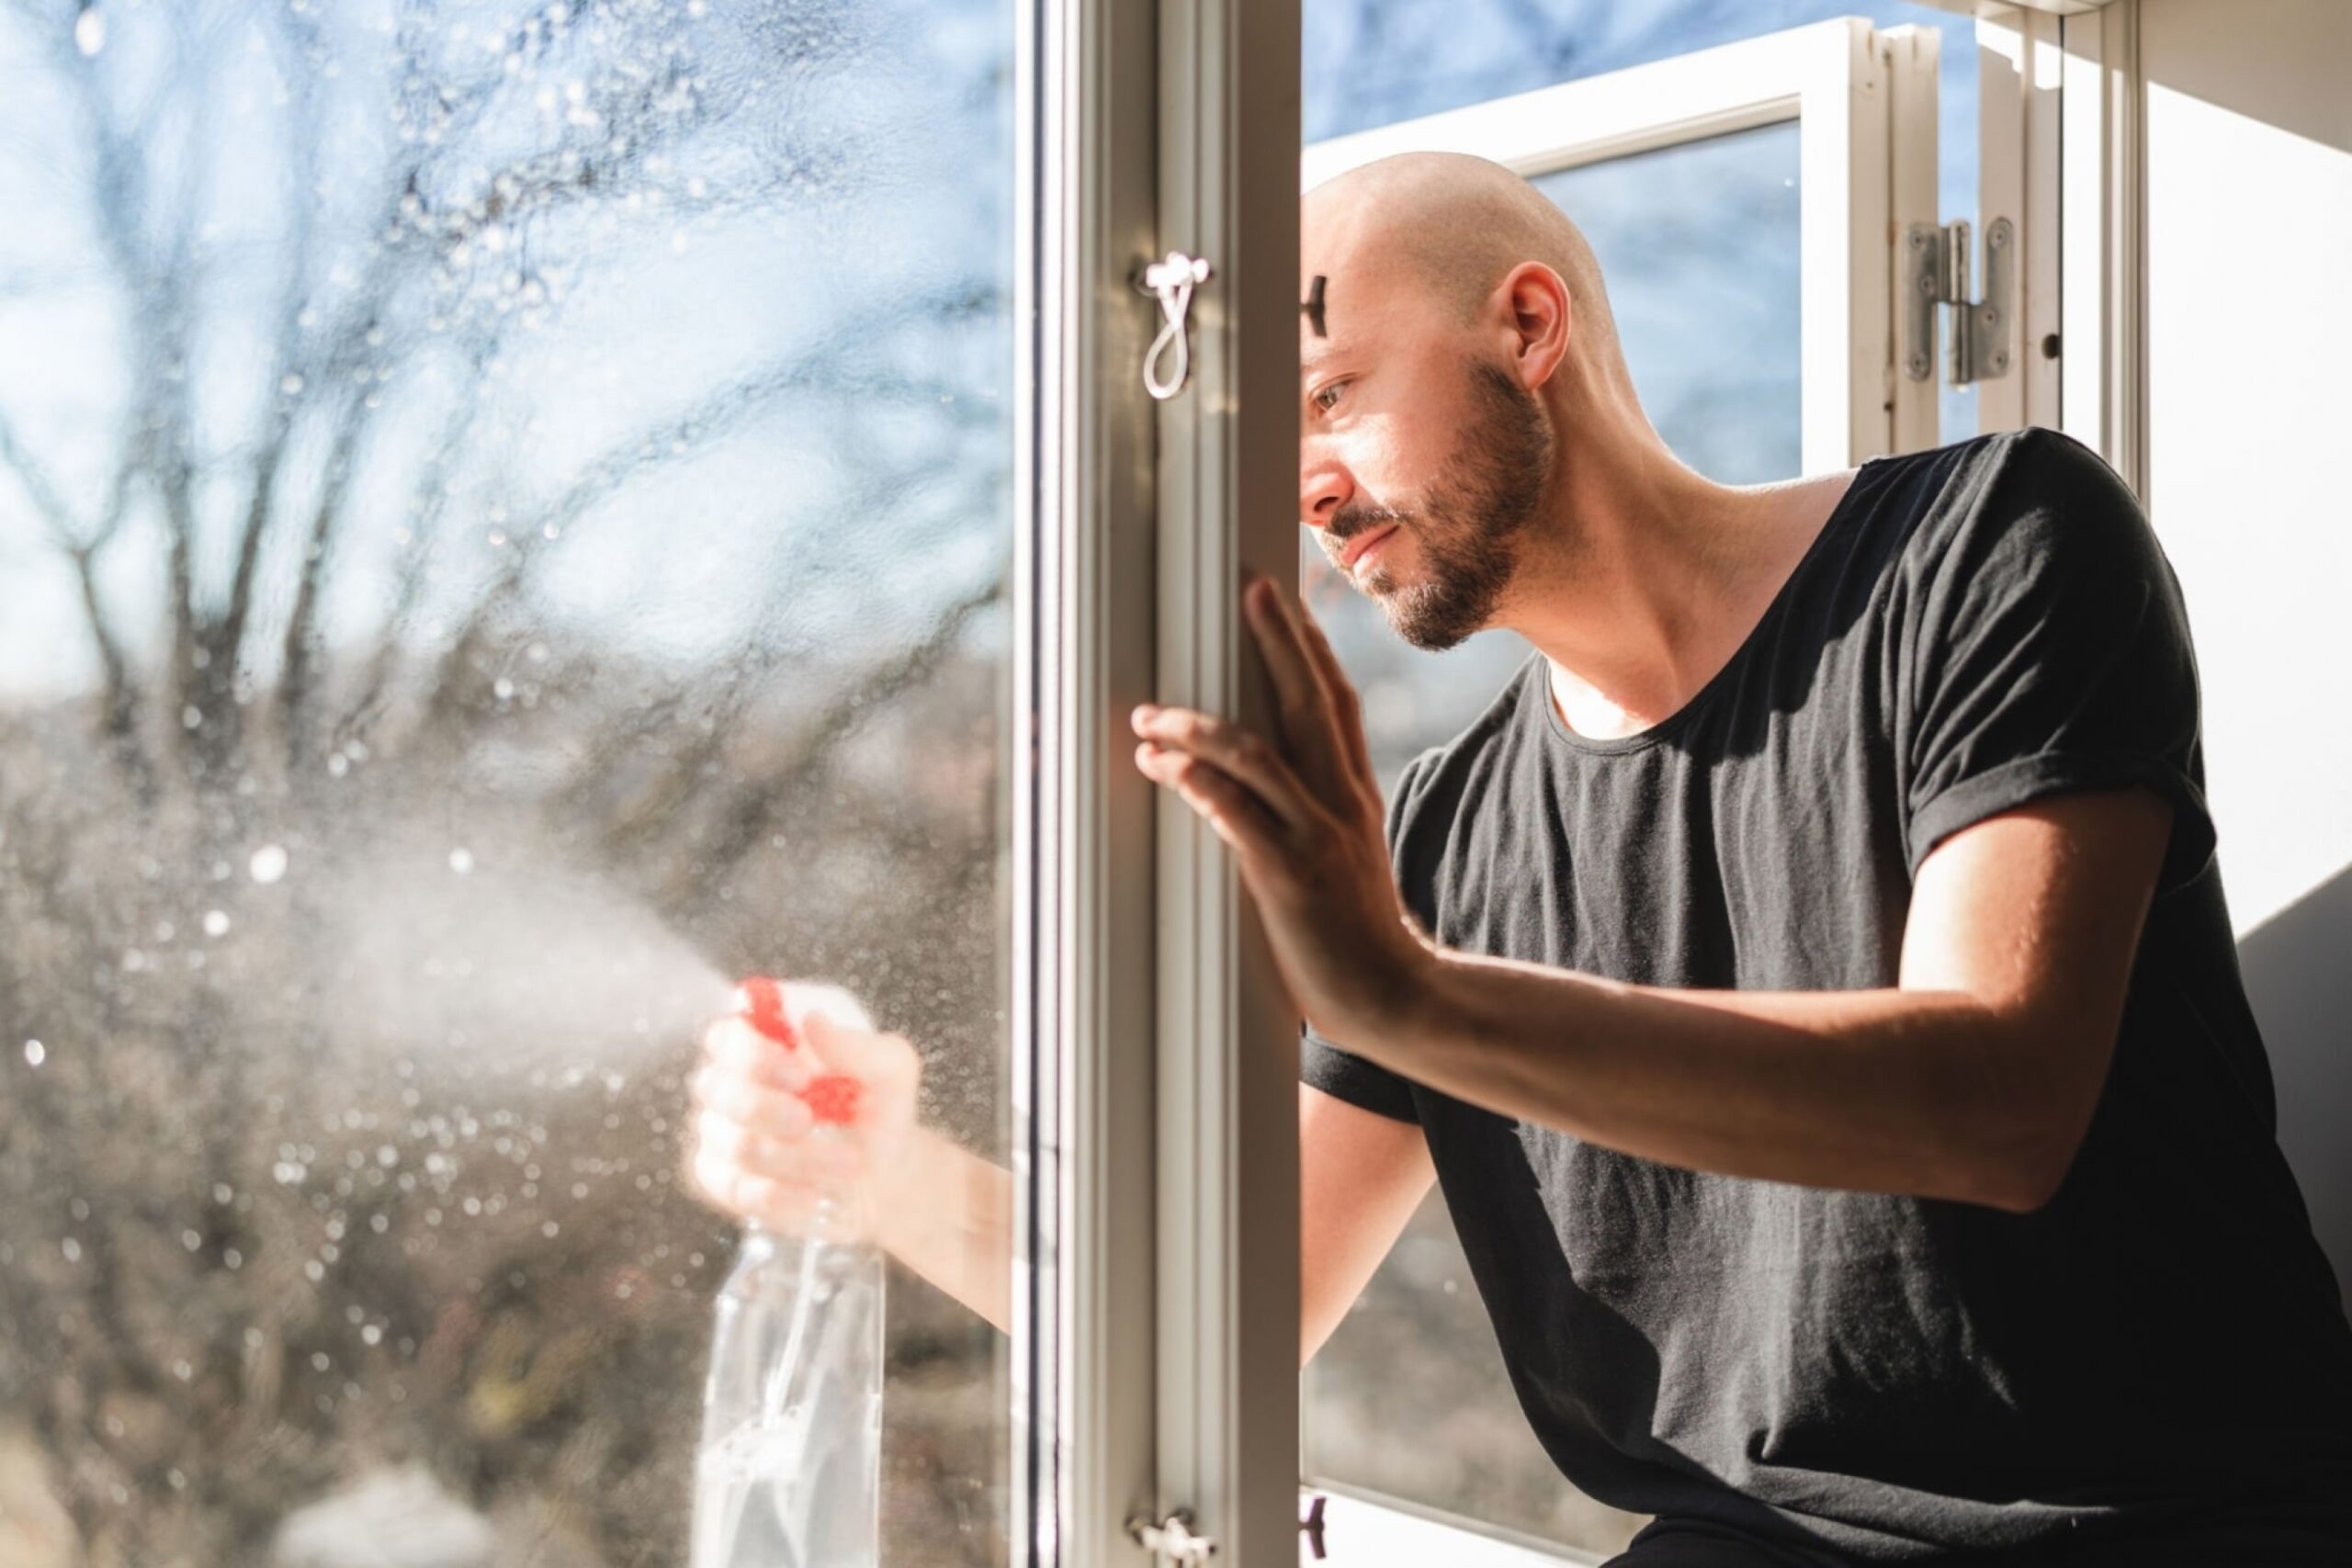
We know cleaning your windows can be a time-consuming chore to take on, especially when you’re cleaning both inside and out. Thankfully, you should only have to clean both sides of your windows about 2 or 3 times a year, depending on the environment where you live. Pollen levels, rainy weather, tree sap, and even birds can add to the debris that collects on and around your windows. Make sure to regularly check the state of your windows from the outside in order to stay on top of their cleanliness.
FAQ
What should you not do to clean windows?
When cleaning your windows, you should not use an ammonia-based cleaner and avoid cleaning them in direct sunlight as both of these can create excessive streaking and haze. You should also aim to use a squeegee when drying them and removing excess cleaner and water.
What causes windows to get dirty inside?
Windows can get dirty inside because of dust, grease, and other particulates that accumulate and stick to the glass. Windows in the kitchen are especially susceptible to grease build-up and can be particularly difficult and stubborn to clean.
Can vinegar damage glass windows?
Vinegar won’t damage and is completely safe to use on glass windows and mirrors. In fact, we encourage it! Just remember not to use vinegar to clean anything like electronics or stone such as granite and marble.
What do professional window cleaners use in their water?
Many professional window cleaners use purified and treated water, but they can also use simple cleaning agents like a few drops of dish soap in water. This solution is super simple but highly effective when cleaning windows, which is why we suggest trying it out for yourself.
What is the best time of day to clean windows?

The best time of day to clean your windows is early in the morning before the sun is fully up so that it doesn’t hit your windows directly. You can also save window cleaning for an overcast day without rain, as long as there is no direct sunlight on your windows. This is because the sunlight can cause your cleaning solution and water to evaporate more quickly and leave water stains and streaks on the window while you clean.
Why do my windows look worse after cleaning?
Your windows can look worse than when you started often because of the amount of sunlight hitting them or even if you leave the solution for too long and it dries on the glass. Your home’s water can also be a contributing factor to streaks and haze as hard water leaves cloudy mineral deposits on most surfaces.
How do your windows look after cleaning then? What kind of cleaning tips and tricks do you use when cleaning your windows? Share your thoughts in the comments below, we love hearing from you! If your windows have become too much of a struggle to keep clean and shiny on a regular basis, don’t worry. You can check out cleanzen.com/philadelphia to find out what kind of services we offer that can help you keep your home looking its best.
The post The Ultimate Guide to Cleaning Your Windows appeared first on Cleanzen.
from Cleanzen https://cleanzen.com/blog/how-to-clean-windows/
via IFTTT
From https://cleanzencleaningservices00.blogspot.com/2023/02/the-ultimate-guide-to-cleaning-your.html
from Kirstie Bravo https://kirstiebravo.blogspot.com/2023/02/the-ultimate-guide-to-cleaning-your.html
via IFTTT
from Kirstie Bravo https://kirstiebravo.wordpress.com/2023/02/09/the-ultimate-guide-to-cleaning-your-windows/
via IFTTT
No comments:
Post a Comment